Westfield Megabusa Build Diary
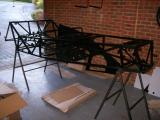
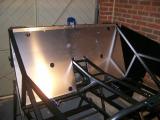
One of the factory options for a Westfield kit is to have the aluminium panels (that turn the space-frame chassis into a tub) pre-fitted. In addition to this, you can have the fuel and brake pipes fitted too, but that wouldn't be any fun now would it? The whole idea of the kit car was to build it, so we opted to do it ourselves.
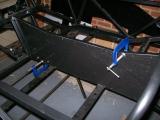
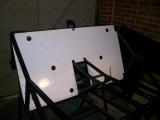
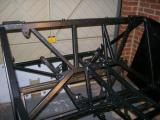
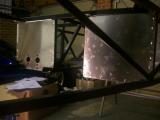
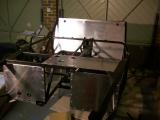
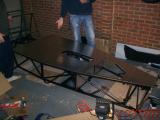
The panels must be trial fitted, clamped into place, drilled, removed, de-burred, refitted, sealed, and then riveted to the chassis. This must be done for the transmission tunnel (2 panels), the rear bulkhead, the front bulkhead (2 panels) the floor-pan (well over 200 rivets), and a couple of other panels had to be drilled and then removed until later on in the build.
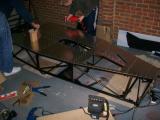
Before taking delivery of the kit, I decided to stock up on 4.1mm drill bits (Bosch ones seem to last quite well), and also buy an air compressor and air riveter to make light work of the riveting as the hand riveter method would probably cause R.S.I!
Matt and I set to work fixing and drilling panels. Once we got one panel drilled and riveted we quickly realised that it would be far quicker to use a drill each which meant we drilled twice as fast. Then once we removed the panel and applied the sealer, Matt would go round the panel inserting rivets and I would follow him with the riveter.
After doing a couple of panels, we found it best not to wipe the excess silicon sealer at all. Instead, just let it dry and it doesn't cause any smudging - you just peal it off.
The floor-pan was the biggest job with so much drilling and riveting, but we managed all of the panelling in just one day. This was something I thought would take 2-4 days at least, but with 2 or 3 people you can plough through is very quickly. I wouldn't fancy it with a manual riveter though!
Laurence
 |
 |
 |
 |
 |
 |
 |
 |
 |
 |