Westfield Megabusa Build Diary
With the family round all day yesterday and today we were struggling to spend too much time on the car but we got a little bit done. First off it was our uncle Alan to the rescue who brought his tapping tool round and attacked the dodgy thread with nothing but a successful outcome. He used to run an automotive engineering firm and had seen many problem threads before. He cleaned up the thread on the offending wishbone first, and then both of the rose joints in just a matter of minutes. All sorted now - each rose joint threads up beautifully..
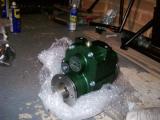
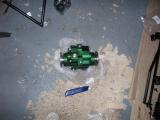
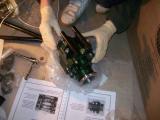
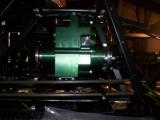
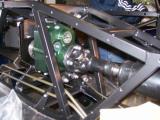
We just spent a little bit of time on the Westfield Reverse Gearbox. Opening the bubble-wrap it is a lovely bit of kit, and fairly easy to fit too. The supports had to be put on the reverse box (off the car) but they had to be left loose to allow the rods to get all the way through much easier. The detachable reverse gearbox mount (the front and bottom mount) had to be removed and then we held the reverse box into position (Westfield logo facing the rear of the car) and put the 215mm rods through the gearbox brackets and then put the detachable mount back on the car once the rods had gone through them. Once equal thread was showing at both ends, nyloc nuts and threadlock were put on and everything tightened. It takes a bit of polite force, but with enough slack in all of the fixings you can get it all to line up, and then just tighten each of the fixings.
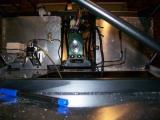
Then we secured the prop already attached to the diff (the longer of the 2 propshafts) to the reverse gearbox. Torqued them up and then it was time to call it a day and back to Boxing Day family time.
Over the next couple of days there should be some major progress with the front propshaft, front and rear suspension, front and rear hubs and front and rear brakes.
Matt
 |
 |
 |
 |
 |
 |
 |