Westfield Megabusa Build Diary
Just a couple of little bits today as we're still waiting for parts before we can continue on the main stuff, so we thought we'd clear some of the more minor jobs that will no doubt add up at the end if we don't.
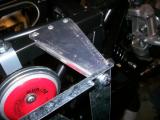
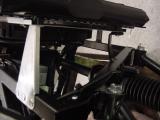
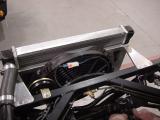
One of these is the radiator. Be warned - the SEi manual bares almost no likeness to the Megabusa radiator, and neither does its fitment! I had already looked at it previously and gave up. Earlier in the week I had rang Mark at the factory to find out more about it, and he told me that it mounted to a separate bracket which is why I couldn't work it out. He send me some pictures through which I have attached below.
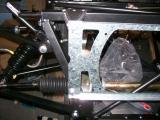
You need to:
- Mount the radiator plate to some brackets.
- Rivet the brackets to the chassis when you are happy that they are evenly spaced
- Remove the plate from the brackets.
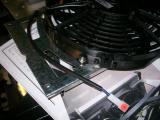
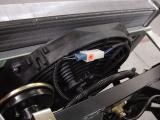
- Fix the fan inside the plate
- Re-fit the plate
- Fix the radiator to the plate.
We found that the easiest way to drill the bracket holes into the chassis was through the brackets themselves, that way the hole was already aligned with the hole in the bracket. Very easy, and then just 6 rivets to fix.
I got all of this done, and then couldn't work out which bolts to use as they all seem too long for the radiator thread, so I leave the radiator off. Probably a good idea actually as the chassis will be lifted down off the stands soon, and the radiator will probably be in the way.
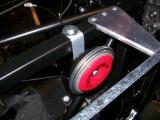
Now that the radiator brackets were fixed, we could fit the horn without fear of it overlapping the rad brackets, so back out came the drill. We had to bend the horn bracket, but it was best to use the chassis rail we were mounting it to, which gave a perfect bend. Once fitted into place I couldn't resist putting a battery across it - "Beep Beep" :)
Laurence
 |
 |
 |
 |
 |
 |
 |
 |