Westfield Megabusa Build Diary
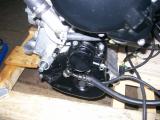
Before the engine can be fitted into place, there is quite a bit of preparation work required. Luckily, this section of the build is well documented in the Megabusa manual. You start by fitting the brackets to the clutch slave cylinder, but the image in the manual had them on the wrong way. The 2nd picture shows it fitted, so I used this one to work it out.
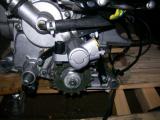
In order to bolt this to the engine, you first need to remove the cover that's in the way (pictured below). This covers the chain sprocket, and the original clutch mechanism. A few bolts and the whole thing lifts off, allowing you to fit the new clutch slave cylinder in place and tighten.
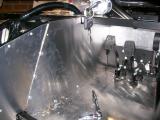
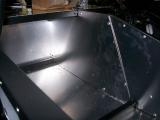
Now you fit the engine brackets at either end of the engine. The threads on the engine are extremely soft and I cross-threaded one without any effort at all, but I managed to sort it out by removing the bolt, and threading it straight with some force. I was worried I would have to use a tap, because the bolts have a peculiar pitch to them. Whilst I was having fun with this, Matt finished fitting the removable reverse box panels.
Matt and I are were both heading out for the evening, so we leave it there.
Laurence
 |
 |
 |
 |