Westfield Megabusa Build Diary
Westfield had to send me through a couple of images to help me do this, which are attached further back in a previous post. I had already fixed the brackets into place, but couldn't find the correct bolts to do the rest.
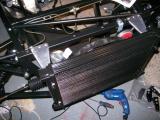
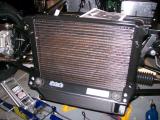
It turns out that you have to use 4 M6x20mm hex head bolts and use a spring washer and a plain washer to space it out a bit so it doesn't hit the bottom of the radiator thread, so the sequence (from behind the radiator) is: bolt, spring washer, plain washer, radiator bracket, radiator plate, radiator.
3 bolts went in fine, but the bottom nearside wouldn't go, so I had to take it all off, and then knock the lower bracket over with a heavy mallet. Now it lines up perfectly, so I refit and tighten each bolt.
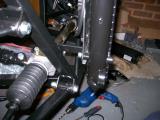
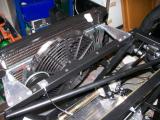
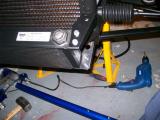
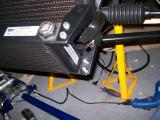
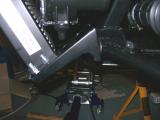
Now the oil cooler can be fitted into place. It's a little hard to see in the pictures, but there are 4 black brackets - two are fixed at the top, and 2 at the bottom. You fix the lower brackets (larger) to the lower suspension wishbone, and the upper brackets (smaller) to the radiator. I had to jack up the wheels a tiny bit just to take the weight off the wishbone bolt to remove it.
Do this loosely, and then you can get the oil cooler into place (oil pipe connections at top). The brackets go ABOVE the oil cooler mounting points for both upper and lower brackets (pictured). The lower brackets look like they could do with a spacer fitted, but I can't find anything suitable, so I just tighten anyway and they seem really secure.
Laurence
 |
 |
 |
 |
 |
 |
 |