Westfield Megabusa Build Diary
I came into the garage not really looking forward to tonight's work because I knew how much trouble I was having making the nose cone line up. Kriss and Jonny were round tonight to help too, so hopefully we might be able to work it out.
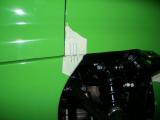
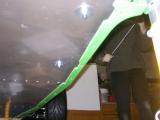
I slotted the holes in the nose so it could slide around quite a bit until fastened. Once we've reached a sensible position I'll fibreglass over the large slots to tighten the holes up again.
We line the nose cone up with the bonnet and everything looks perfect, until I let go of the bonnet and it flops forward again. It's only fixed down by the two top rivnuts and there is no room for anything at the bottom, so I made up some spacers out of aluminium which sit next to the rivnuts to support the nose cone return edges a bit. It's better, but still not perfect - I'll speak to Westfield about it as it doesn't look right to me, and only 2 fixing points seems very inadequate for an entire nose cone.
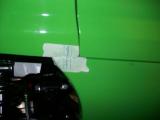
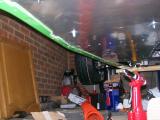
Anyway, it's all lined up, so we can move forward with the fixing. The bonnet catches are next. We fit the hooks to the bonnet, then the catches to the body work. The best thing to do is fit the catch below its final closed position - this way the catch will be under tension when fixed. The first one wasn't fitted using this method, so I'll alter the hook slightly, either by bending it up a millimetre, or fixing something inside it to space it.
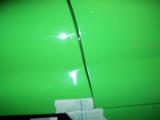
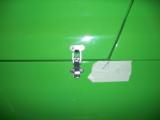
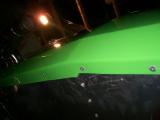
Now the bonnet catch arrangements are fitted we can finish the rest of the body fixing. The top side is finished, but the bottom side is totally loose. The bodywork needs holding tight to the chassis, so Jonny drilled the holes underneath whilst I held the bodywork in. We drilled the holes one by one, but upon riveting we found they didn't line up perfectly and had to open some of the holes ever so slightly due to the flex in the panel.
The best method is to drill a couple of holes at a time, rivet them, and then move onto the next two. The 2nd side was much easier as we adopted this method. Jonny got a tonne of body plastic in his eye and it went really red where he was rubbing it. Hopefully it won't have done any damage though. On a plus note, the body work is totally fixed into place now :)
Laurence
 |
 |
 |
 |
 |
 |
 |