Westfield Megabusa Build Diary
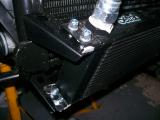
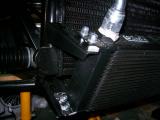
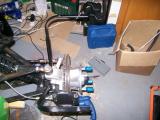
The radiator doesn't fit well to the brackets because there is either a gap at the top, or a gap at the bottom. I spoke to Mark at the factory about this, and he told me that they just put a spacer at the top. You can see this in the pictures, and where I had tightened the bolts it had bent the brackets out of shape.
I cut some 6mm tubing for the bolts to pass through at the top and then tightened it all up. The radiator seems much more secure, and also it has straightened out the brackets nicely now that all the surfaces sit flat (forgot to take a picture of the final result though).
Fitting the cycle wings is a job that could wait, but since we've got a spare hour until we need to go out we decide to get it started.
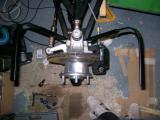
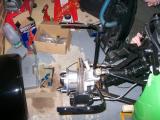
They bolt to the front upright using 3 bolts, and then it's our job to fit the arches to the brackets. We decided it would be easiest to drill 4 holes in measured positions on each bracket, then move the wings into position, mark them from underneath, drill, and then hope they line up.
The metal is very tough and it takes a while to drill through all 8 holes (4 on each bracket). We put the wings into place and they immediately transform the look of the car, but we leave the fixing to another time since we need to get out for a friend's birthday.
Laurence
 |
 |
 |
 |
 |