Westfield Megabusa Build Diary
Whilst we are STILL waiting for a fuel rail and a few other assorted parts which prevent us from starting the engine, we decided to fit the indicators into place. This is another job that will build up and cost time at the end of the project, so it's good to tick these off the list now.
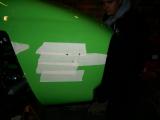
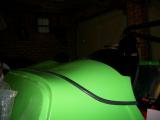
Kriss and I marked up the nose cone using the exact measurements as documented in the manual. We used a spirit level to make sure they were straight though, and then measured the holes both sides to ensure they were symmetrical.
Once happy we drilled through the marked holes.
Kriss left me to bolt the indicator pods into place and wire them whilst he and Matt carried out some major work on the aeroscreen (more on that later).
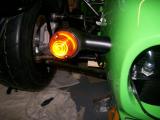
I fed the indicator wires through the holes and bolted the indicator pods into place. Now the lights just had to be fitted into the pods. It was quite tricky though as the holes in the pods don't quite line up with the holes in the lights.
The trick was to fit rivets into 2 of the holes, then force the whole unit over with about a 1cm gap between the light and the pod. Once all 3 rivets were aligned then they just needed fastening with the riveter, and then I made up block terminals for each side.
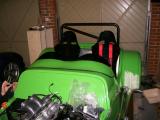
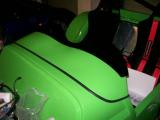
Our aeroscreen was very wrong, so Matt and Kriss made some adjustments. There really is nothing I can say about fitting the screen - it's purely trial and error. Don't worry about slotting the holes because the washers you fit are large enough to compensate.
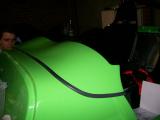
We eventually reached a position which we liked, so we bolted it down, and then riveted the central bracket into place. We had to shorten the bracket slightly, but it fits really nicely now. Matt and Kriss finished it off with some black edge trim, and I'm so impressed with how it looks.
A sterling job by both Kriss and Matt.
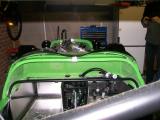
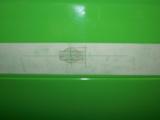
Now the side repeaters. The Westfield manual says to fit them on the body, but every car I have seen has them on the scuttle. I believe the measurements were 50mm from the bottom and 150mm from the front.
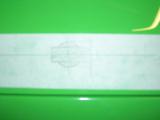
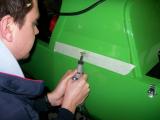
Kriss drew out the shape in the manual onto the scuttle using masking tape, and then out came the Dremmel. We broke a few blades, but a really neat hole was cut and the side repeater fits very tightly, so we did the same for the other side and called it a night there.
We forgot to take a final picture with the repeaters fitted, but believe me they look great.
Laurence
 |
 |
 |
 |
 |
 |
 |
 |
 |
 |